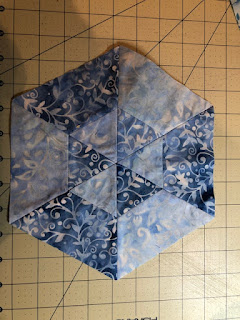
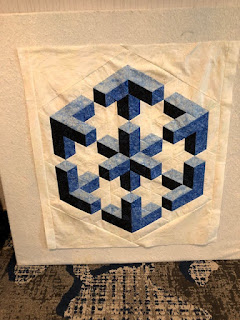
Today I started piecing the Hextravaganza Quilt that is the free pattern that comes with the Star 60 tool by Studio 180 Design. I have made one before. It was the smallest size I could make with the tool. This time I wanted to make to largest size I could make with the tool. The diamonds are 9" finished size. I cut the pieces yesterday, but didn't have any time to piece them together. Here are some photos I took as I worked on the quilt. It went together really fast.
This is the photo on the back of the instructions that come with the Star 60 tool.
Star 60 units are pieced and need to be trimmed. I two different fabrics for the diamonds of the Star 60 units. I trimmed all for them so I could piece them together into a hexagon. All of the Studio 180 tools give directions to oversize the units and then trim them to size. The first photo shows the Star 60 tool placed, ready to trim. The next two photos show the units trimmed and the amount of fabric that was trimmed off. Not much to trim.
Here are all the pieces for the center Hexagon for the quilt. The Star 60 units have all been trimmed and the pile of scraps is from trimming those units.
I pieced pairs together. Three of the units have the green on one side and the peach on the other. The other three units are opposite.
I added the third Star 60 unit to make a half hexie unit.
One set has two green diamonds and one peach diamond. The other set has two peach diamonds and one green diamond.
I sewed the two halves together to make the hexagon. NO Y SEAMS!
I trimmed the outside edges to add the companion triangles. On three of the hexagons, I trimmed where the peach diamonds are and on the other three I trimmed where the green diamonds are.
Then I sewed the companion triangles where I trimmed. The green triangles went next to the peach diamonds and the peach diamonds went next to the green diamonds.
I laid these on the floor to take a photo, because they are so big.
I had to trim the triangles so they would fit nicely together. I did not take photos of trimming these units. They were big and it took a little figuring it out.
I sewed two pairs of two units together.
Then I sewed a third triangle to the two units. This made the half hexagon.
I sewed the two halves together to make the hexagon center of the quilt.
Tomorrow I plan on sewing corners to the hexagon and borders as the pattern shows to make it square. I have a peach polka dot that I am going to use. It is a little darker shade than the fabric I already used in the quilt.
Love this pattern! Thank you, Studio 180 Design for adding this pattern to the instructions of the Star 60 tool. Can't wait to try some more ideas that a floating around in my head.


